

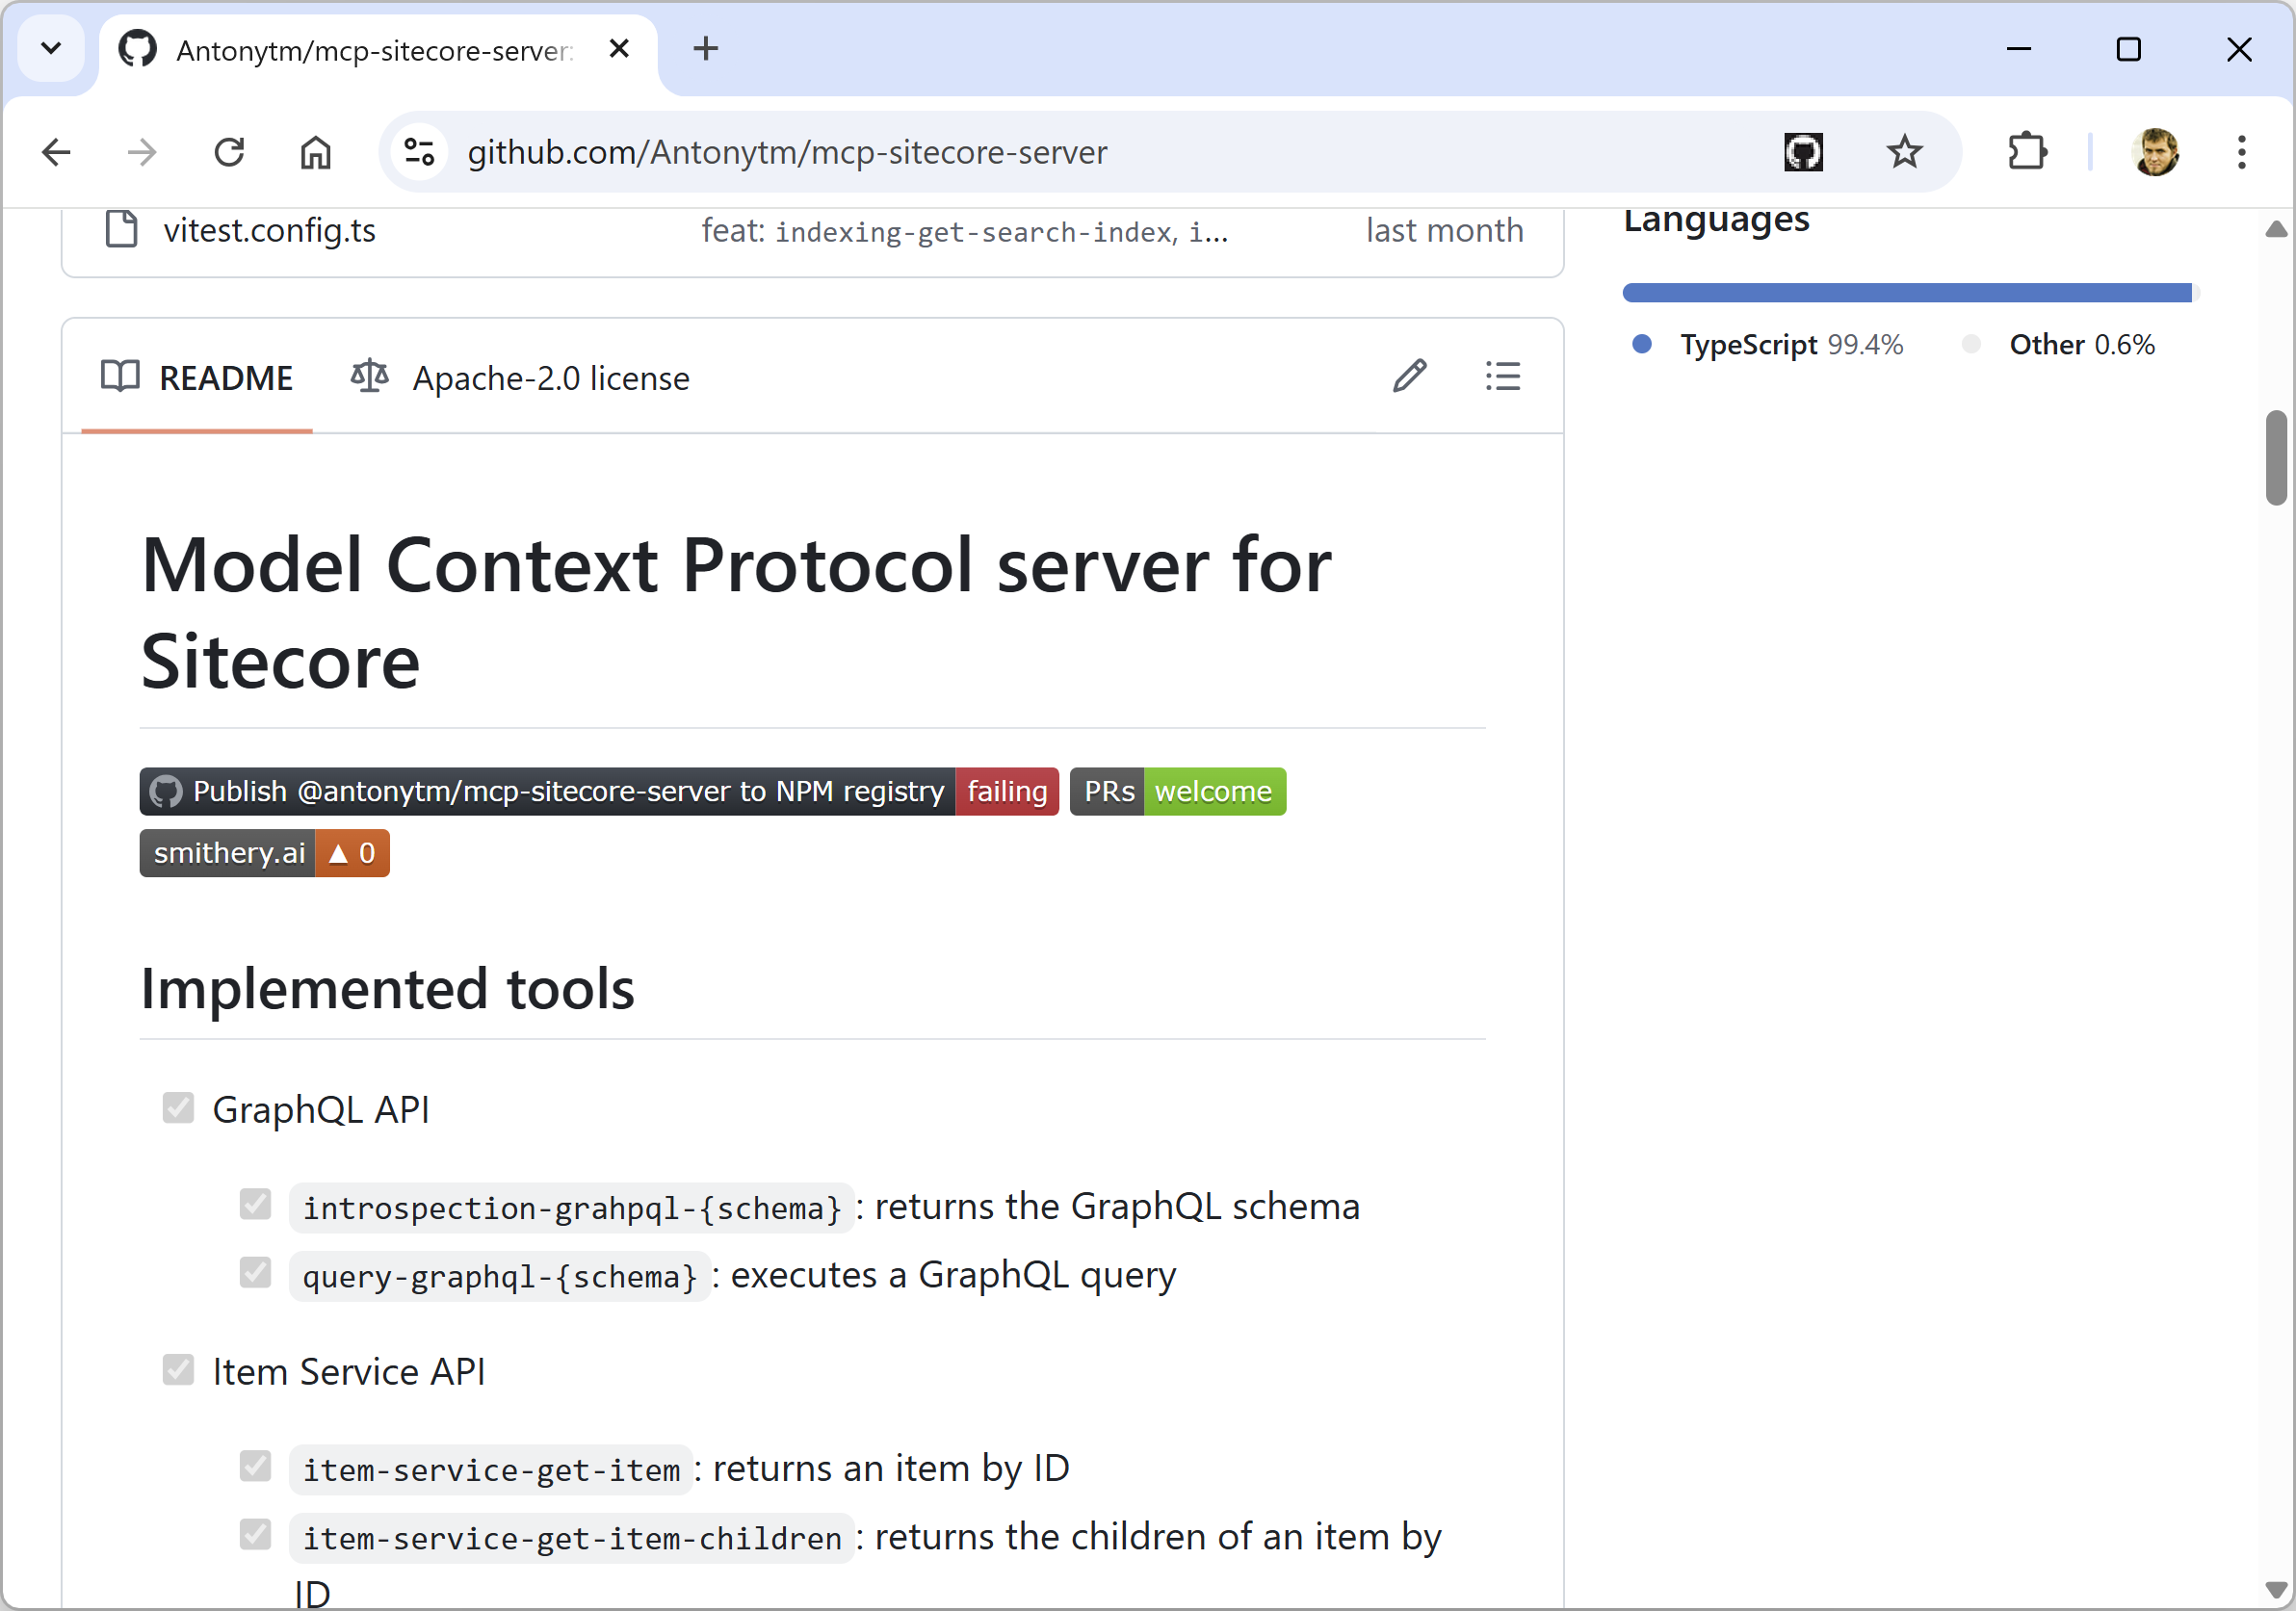
Last few weeks, I have had calls helping Sitecore developers to set up the Sitecore MCP server. I think it’s worth gathering the information from those calls and combining it as a blog post.
This article can be useful for different types of people:
- You have configured the Sitecore MCP server, but something still doesn’t work
- You want to contribute some additional tools or improve existing ones
Development setup
First of all, you need the source code. Depending on your plans, you can clone the existing repository or make a fork and clone it.
Node.js
The source code is based on Node.js. If you don’t have it, you will need to install Node.js locally. I do recommend the use of Node Version Manager(NVM) to make easy installation, update, and switch between node versions. The repository will use the LTS active version, which in 2025 is v22.
The next step will be the installation of dependencies:
npm iEnvironment Variables
The connection to Sitecore is managed by environment variables. dotenv NPM package is used to set up environment variables from .env file. Copy .env.template file to .env file and set environment variables for your Sitecore. If you are using Sitecore from the EXDST Verticals Demo repository, feature/mcp-playground branch, then you don’t need to change any environment variables.
GRAPHQL_ENDPOINT=https://xmcloudcm.localhost/sitecore/api/graph/
GRAPHQL_SCHEMAS=edge,master
GRAPHQL_API_KEY={6D3F291E-66A5-4703-887A-D549AF83D859}
GRAPHQL_HEADERS=
ITEM_SERVICE_DOMAIN=sitecore
ITEM_SERVICE_USERNAME=admin
ITEM_SERVICE_PASSWORD=b
ITEM_SERVICE_SERVER_URL=https://xmcloudcm.localhost/
POWERSHELL_DOMAIN=sitecore
POWERSHELL_USERNAME=admin
POWERSHELL_PASSWORD=b
POWERSHELL_SERVER_URL=https://xmcloudcm.localhost/
AUTORIZATION_HEADER=
NODE_REJECT_UNAUTHORIZED=0
Starting Sitecore MCP Server
Sitecore MCP server supports running in three modes:
- STDIO
- SSE
- Streamable HTTP
We will use streamable HTTP for development. You need to start JavaScript Debug Terminal in VS Code/Cursor or the IDE of your choice, and run the command
npm run start:streamable-httpThe expected result is that you should be able to http://localhost:3001/mcp page in your browser, and it should show the message Invalid or missing session ID.
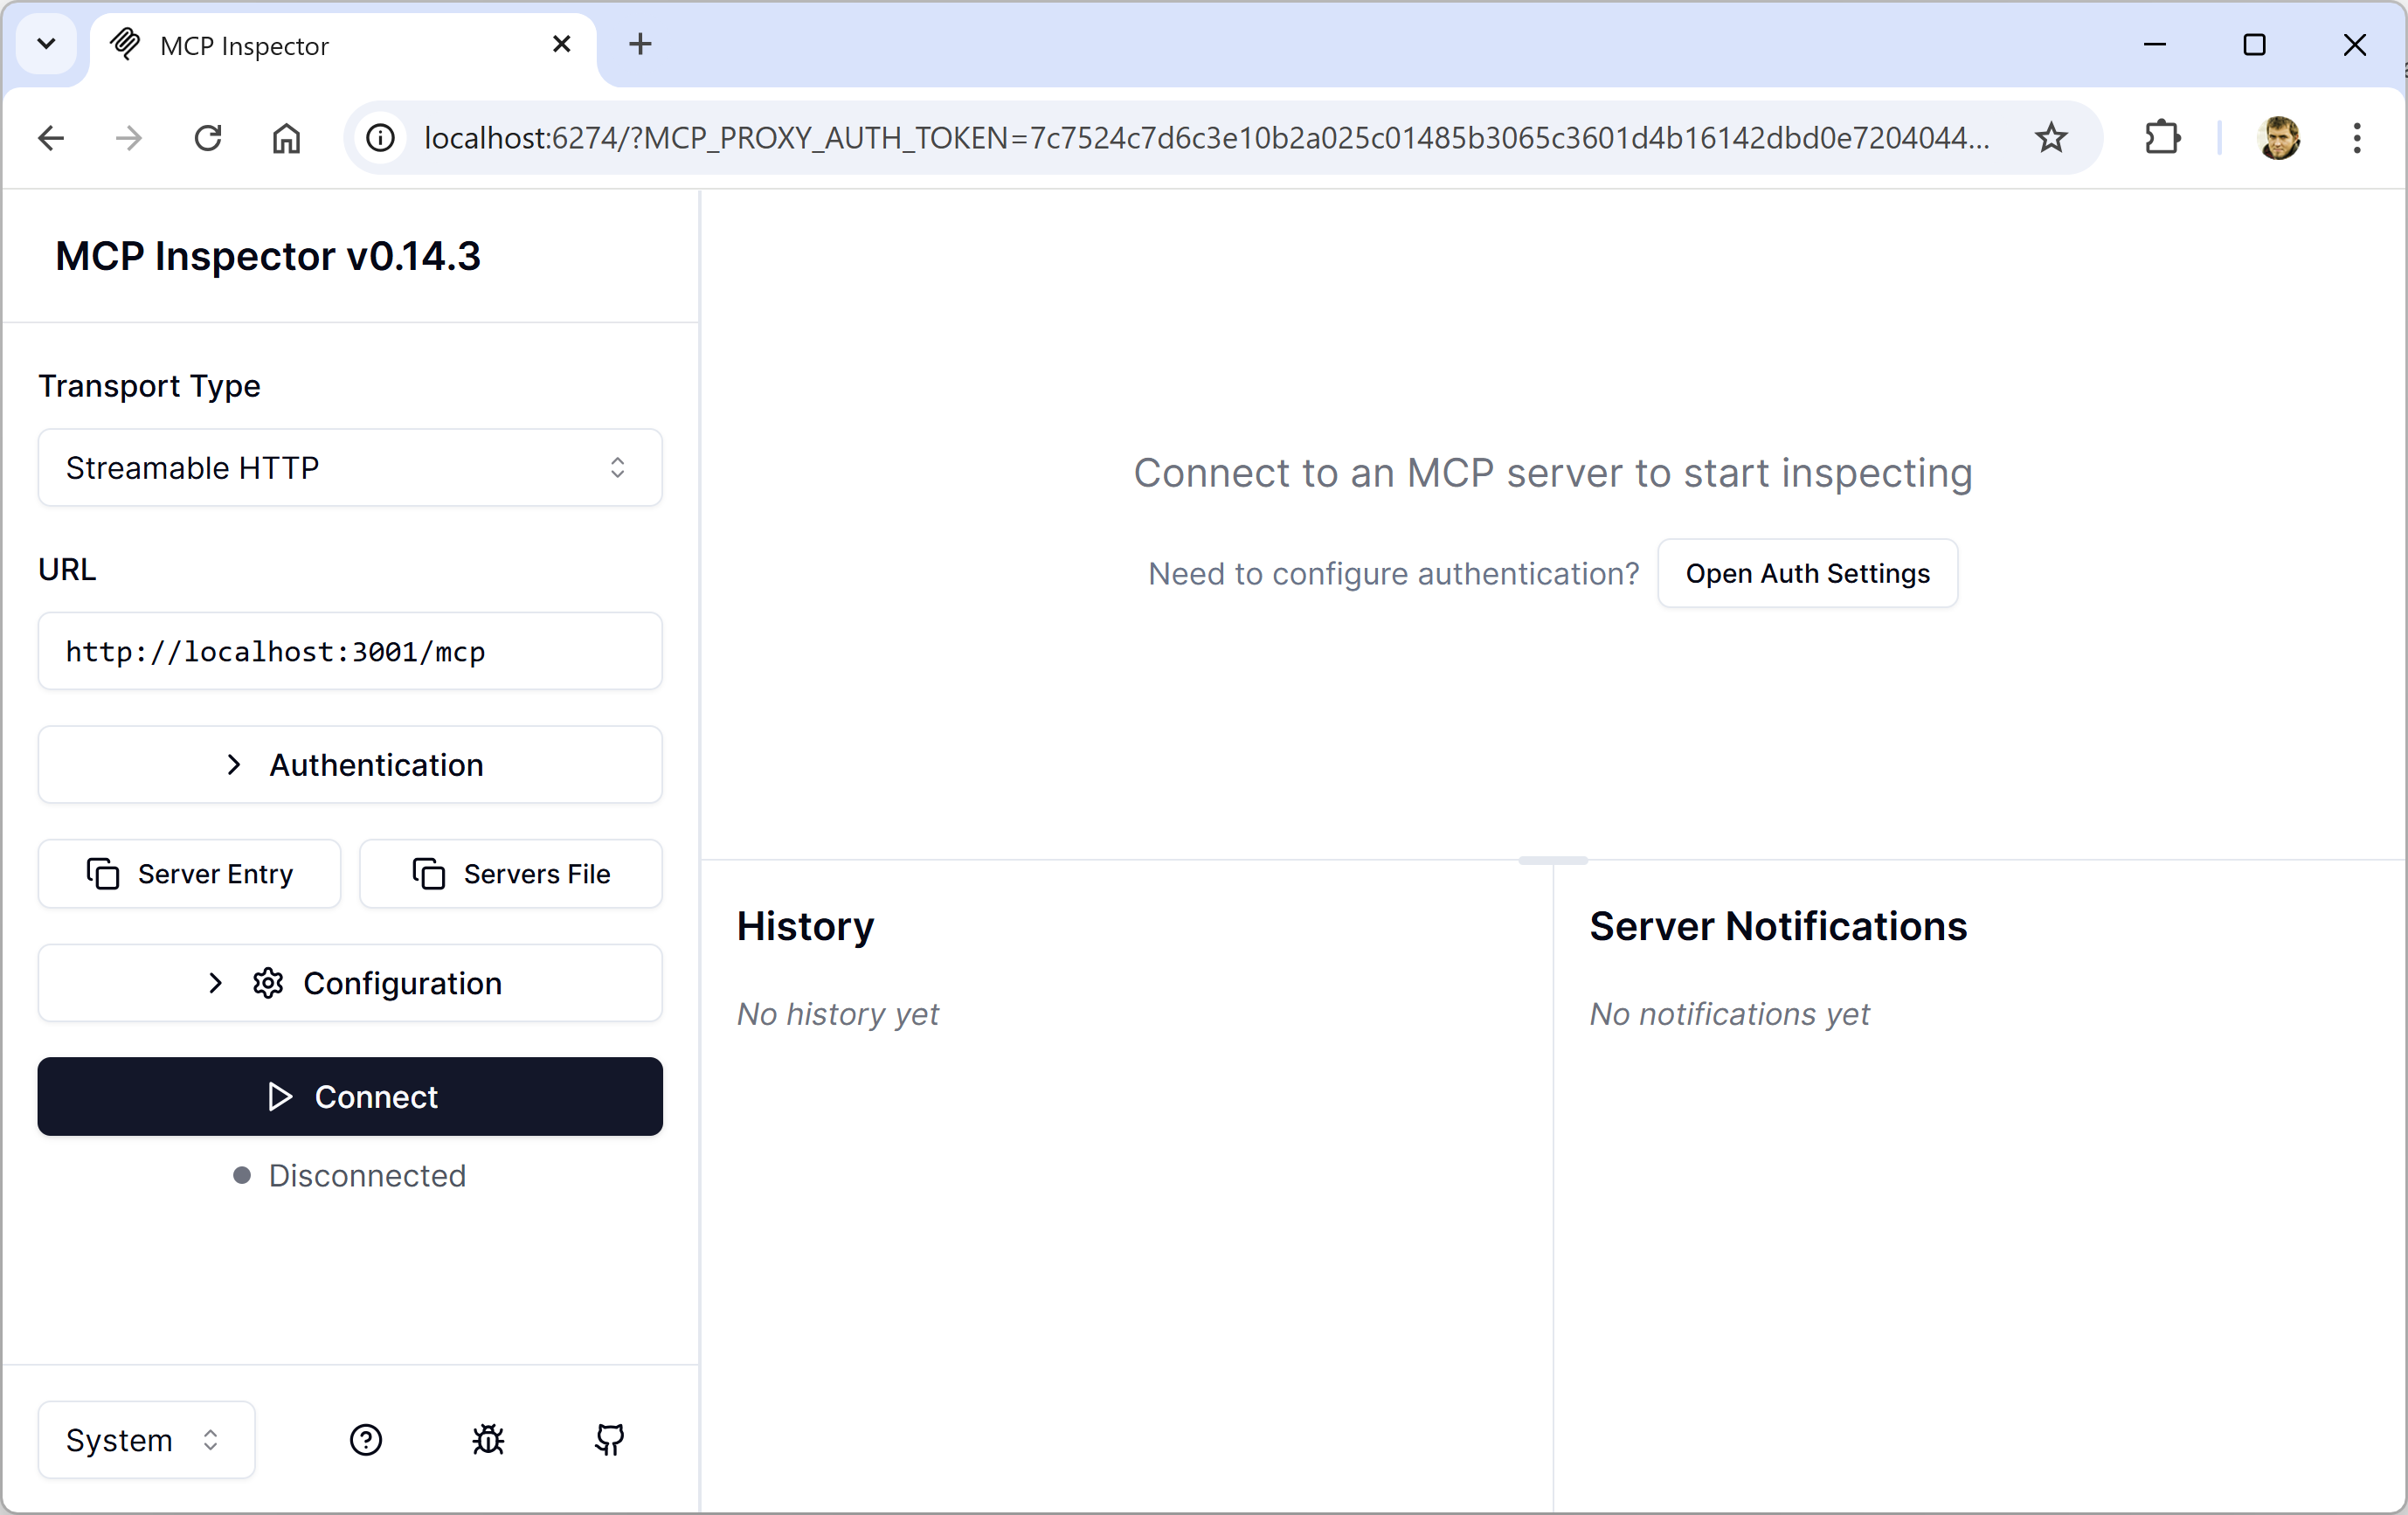
MCP Inspector
There is no need to ask the AI Agent to run the MCP tool to test it. There is a much more comfortable way to do it. It is the MCP inspector. You need to start it using the command:
npm run inspectorIt will start testing the server on 6274 port. And you should be able to open it in a browser. Please, make sure that you copy the full URL, including MCP_PROXY_AUTH_TOKEN GET parameter.
Now, we are ready to connect. We will use http://localhost:3001/mcp URL from the previous step, where we started the Sitecore MCP server in JavaScript Debug Terminal. Once we are connected, we can switch to Tools tab and click on List Tools to see the list of tools that are available on the Sitecore MCP server.
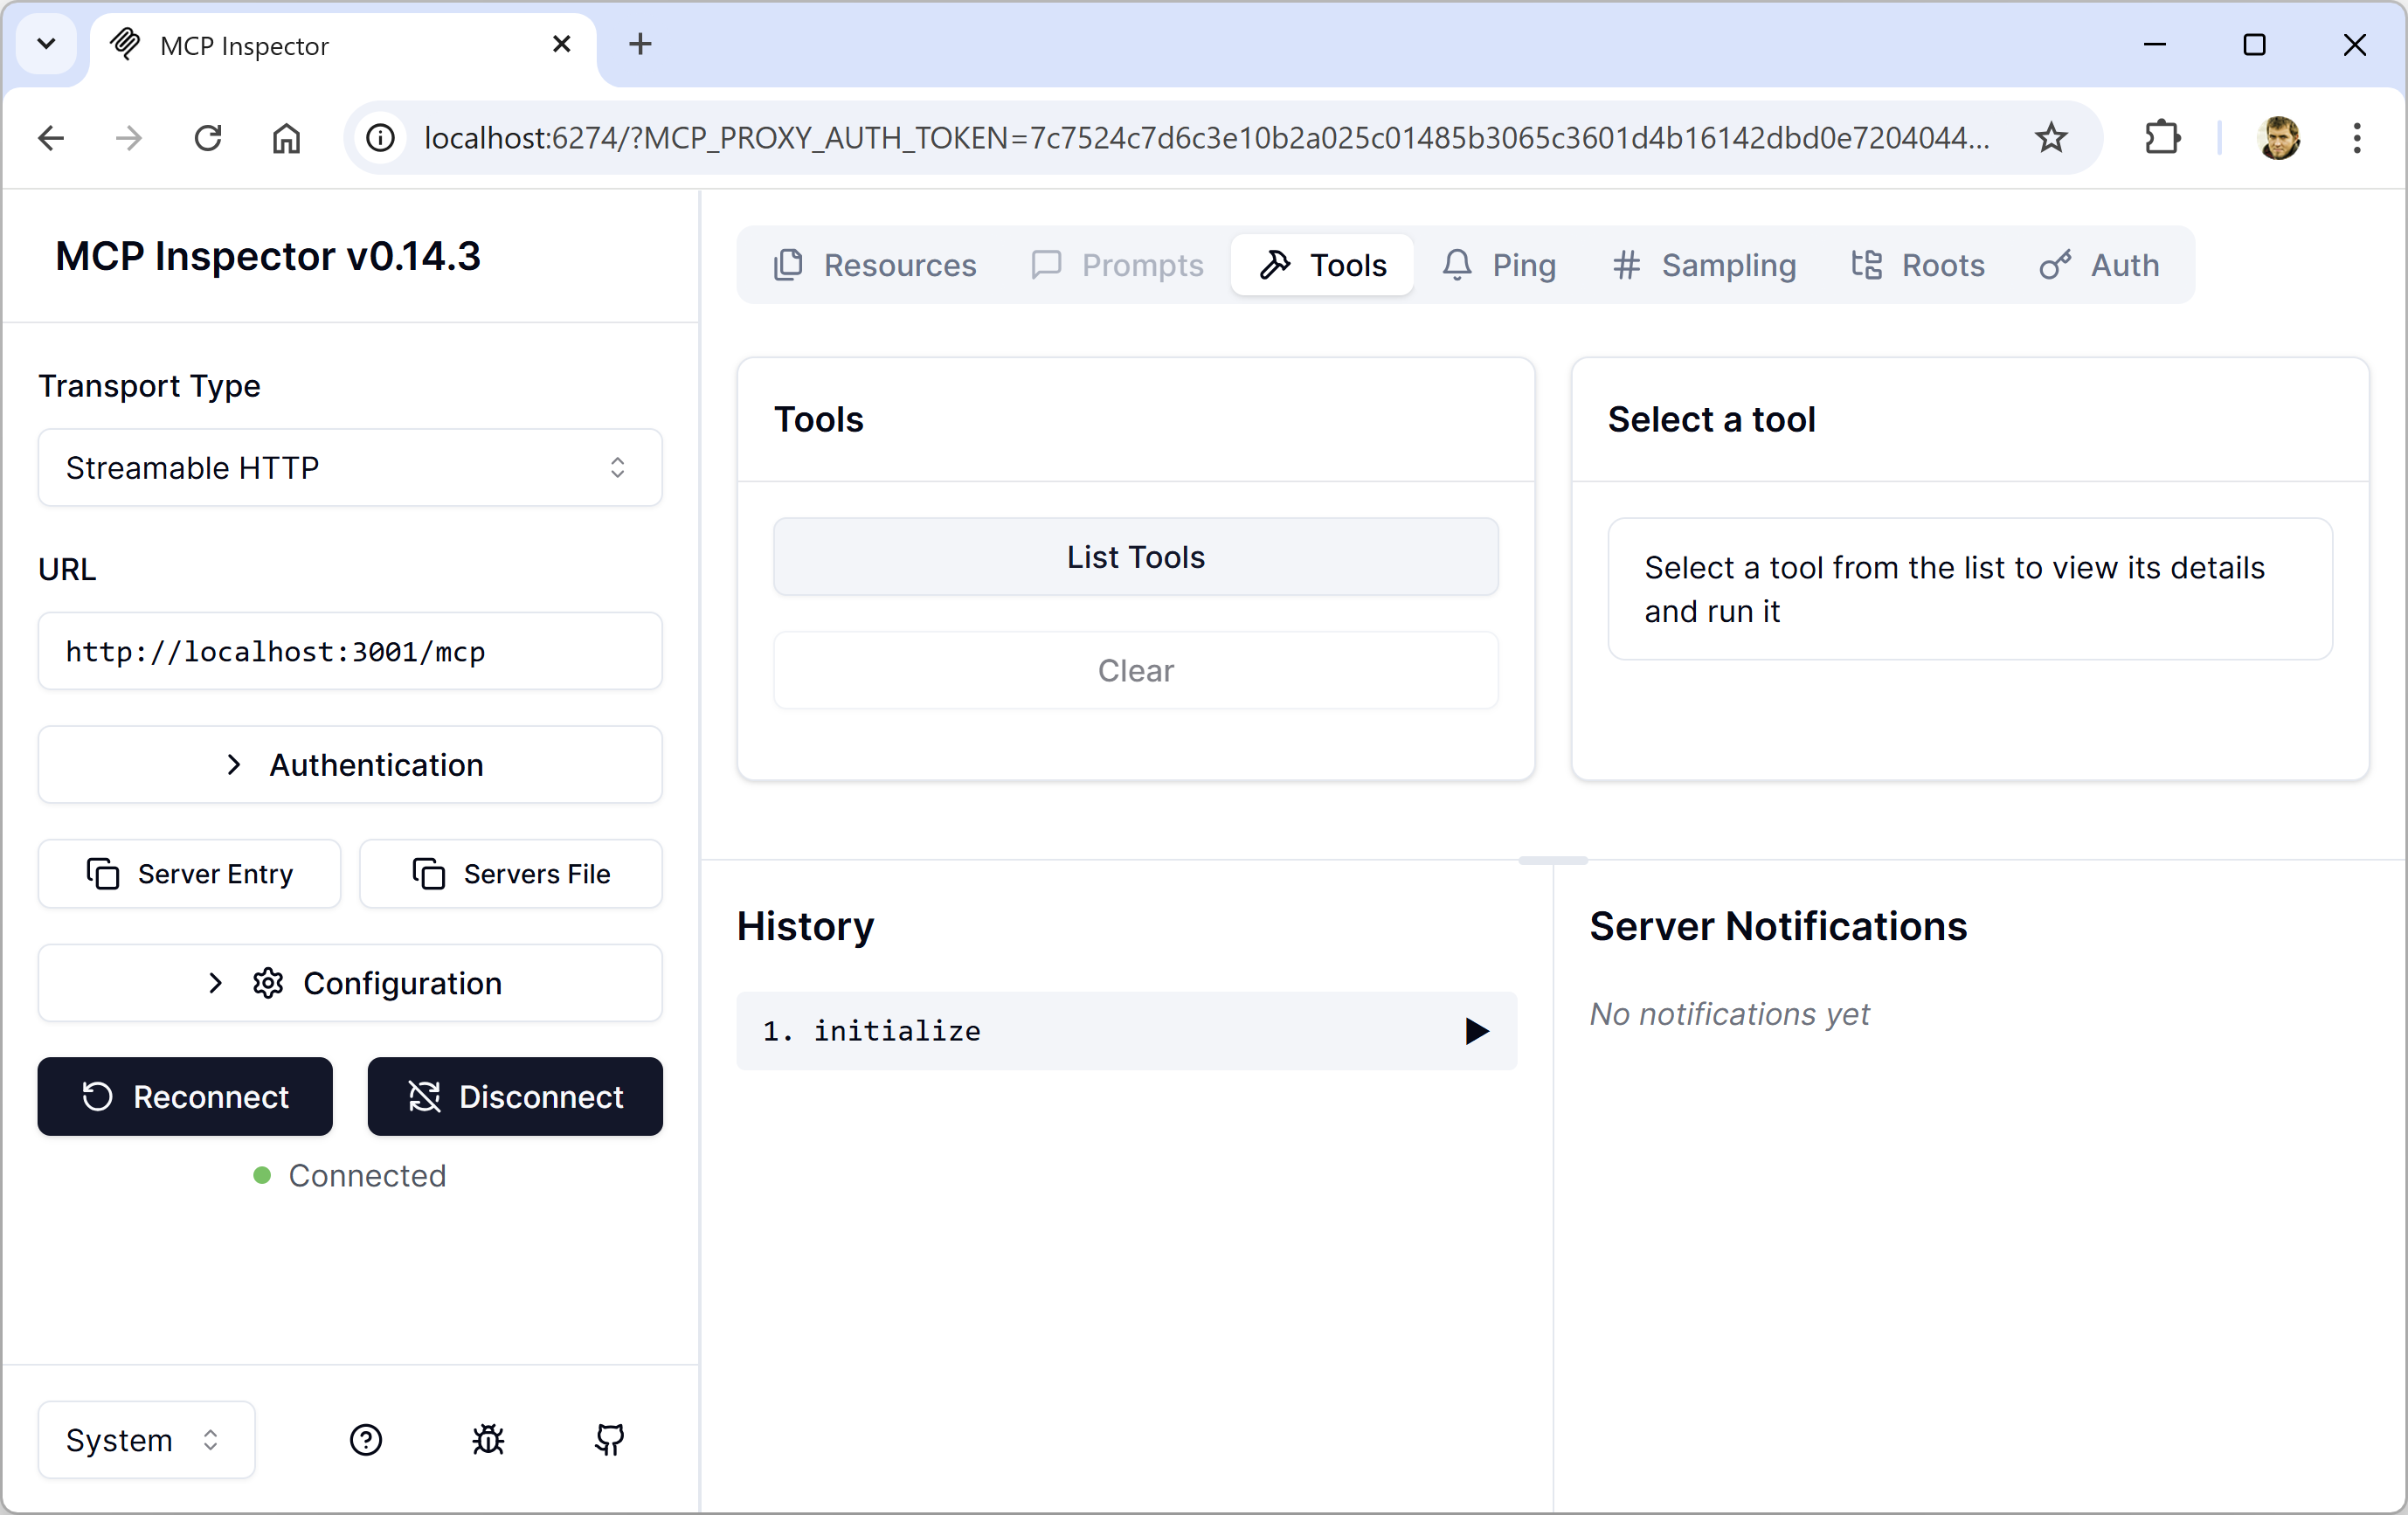
It should give you a long list of tools. The first tool that we need is config. It is the service tools that show the configuration. We need to check it, because Sitecore MCP server provides a list of tools before trying to connect to Sitecore.
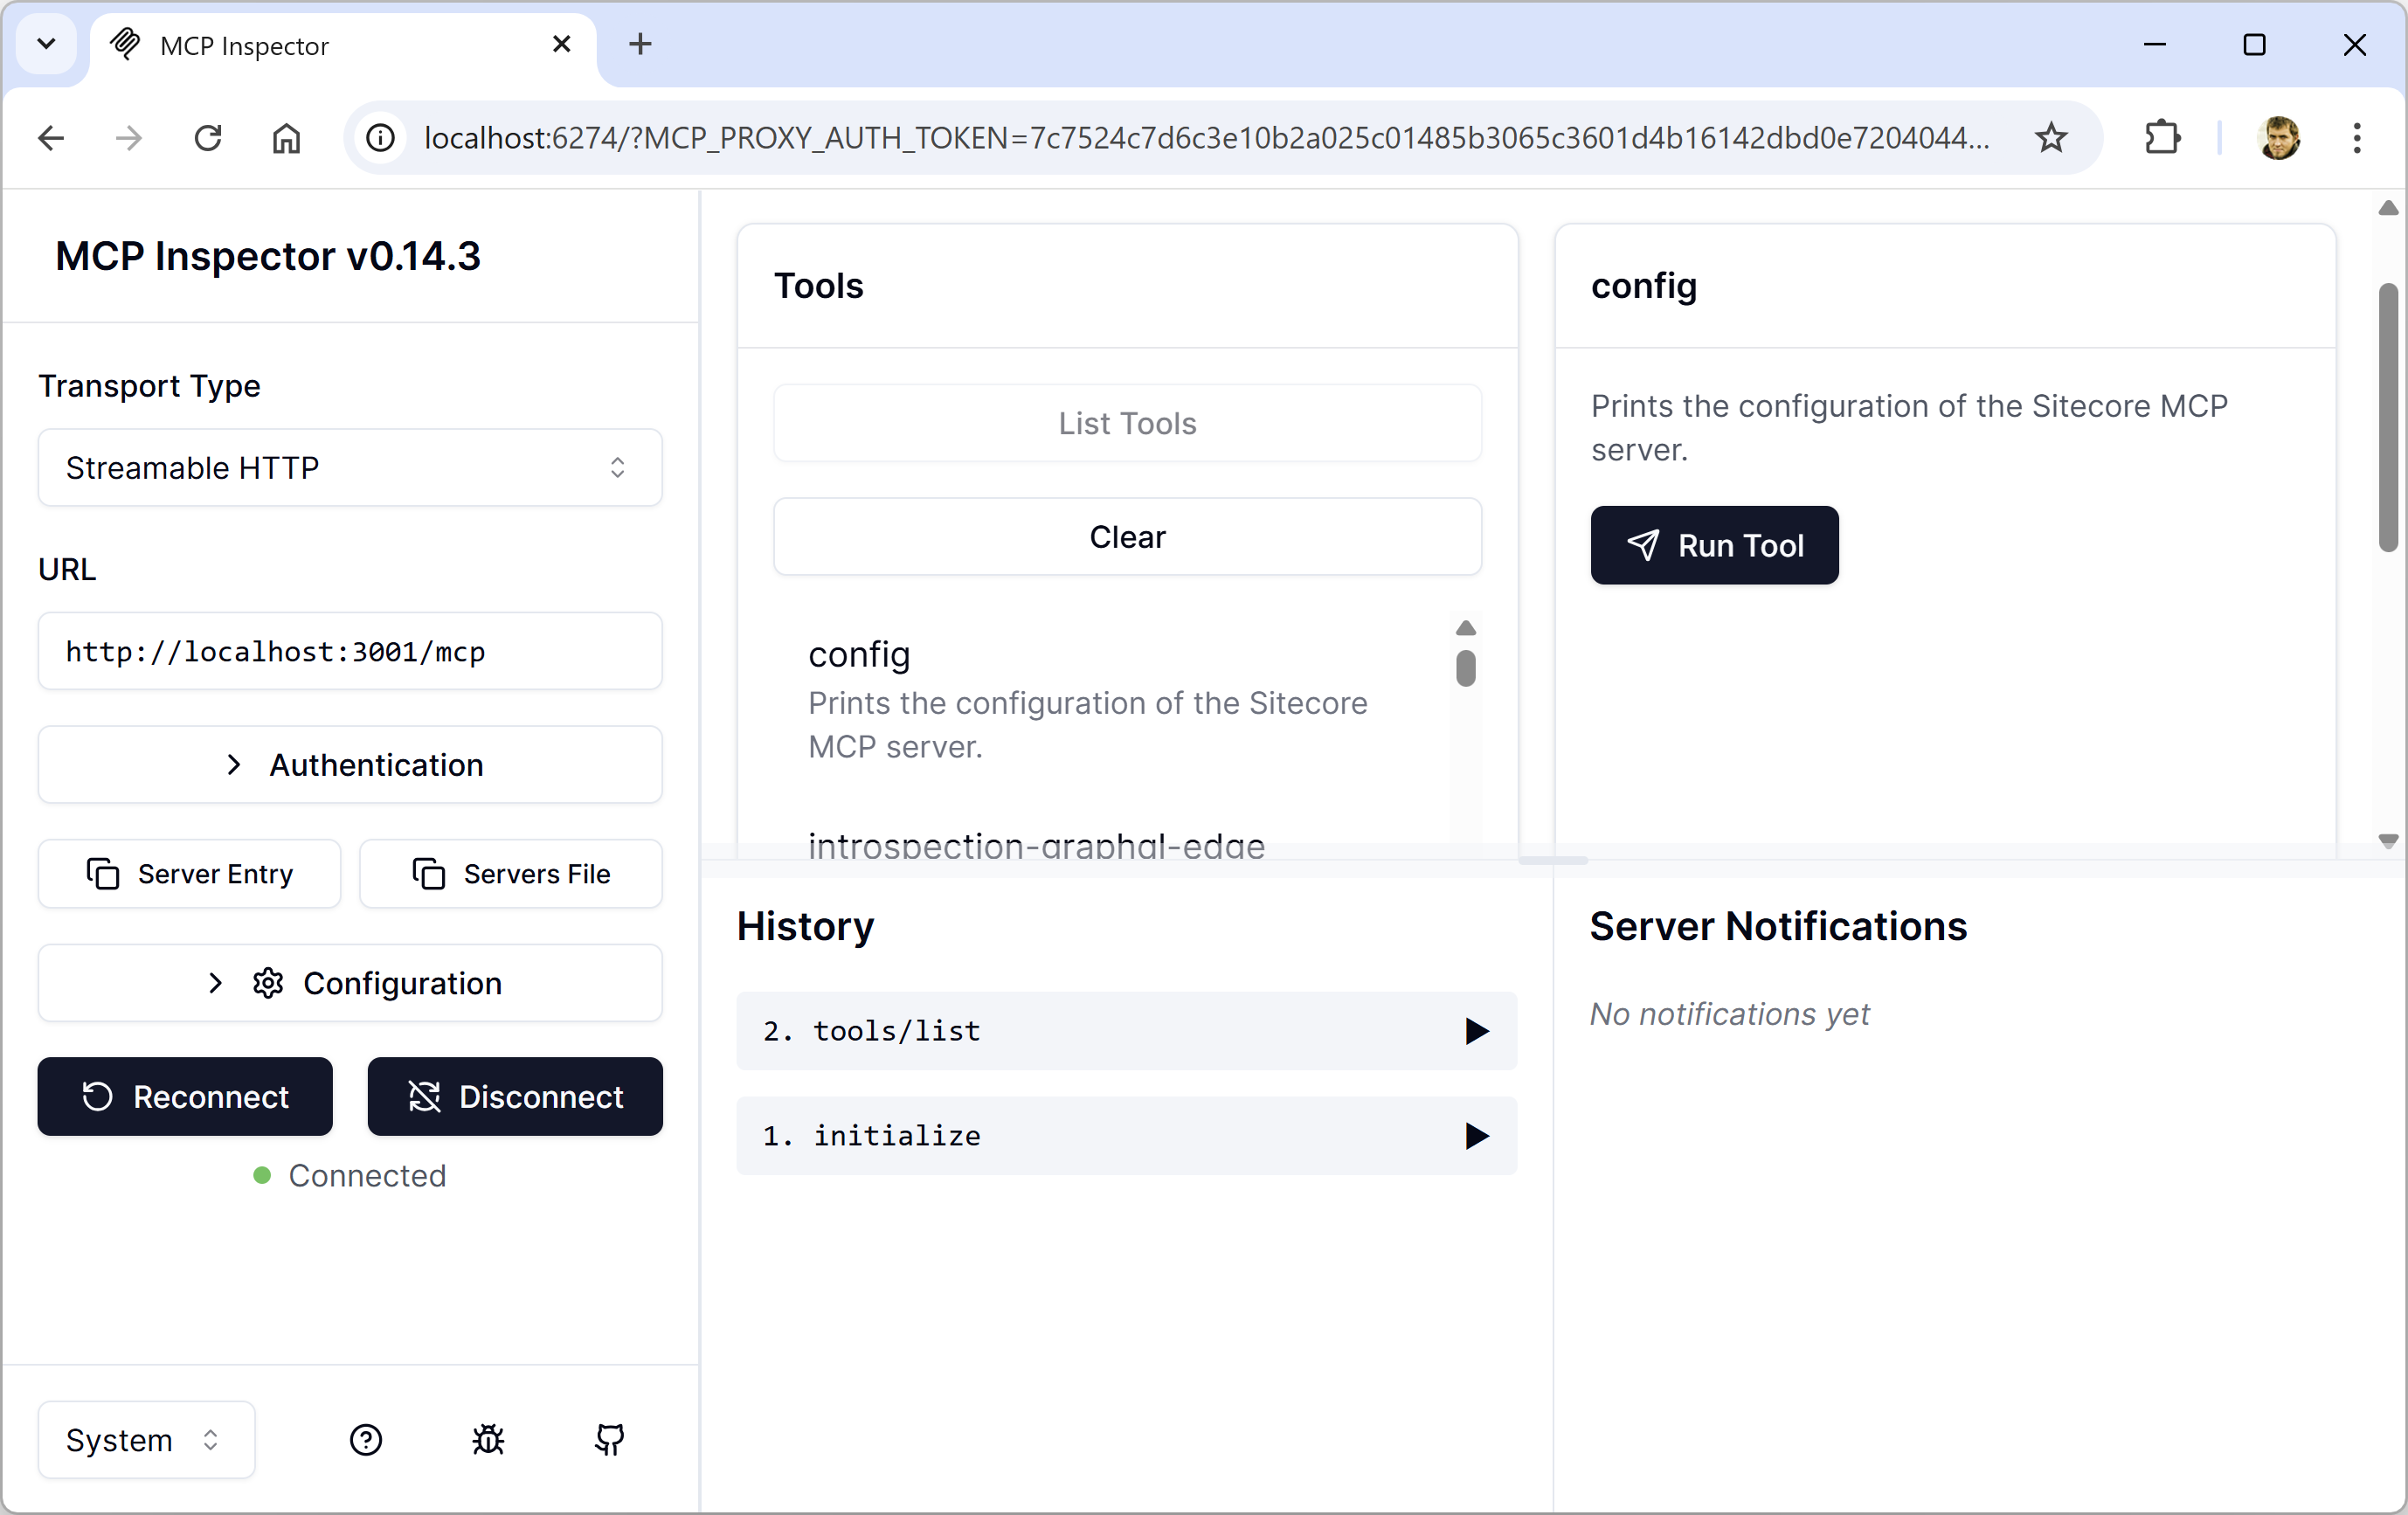
After running this tool, we will see our configuration.
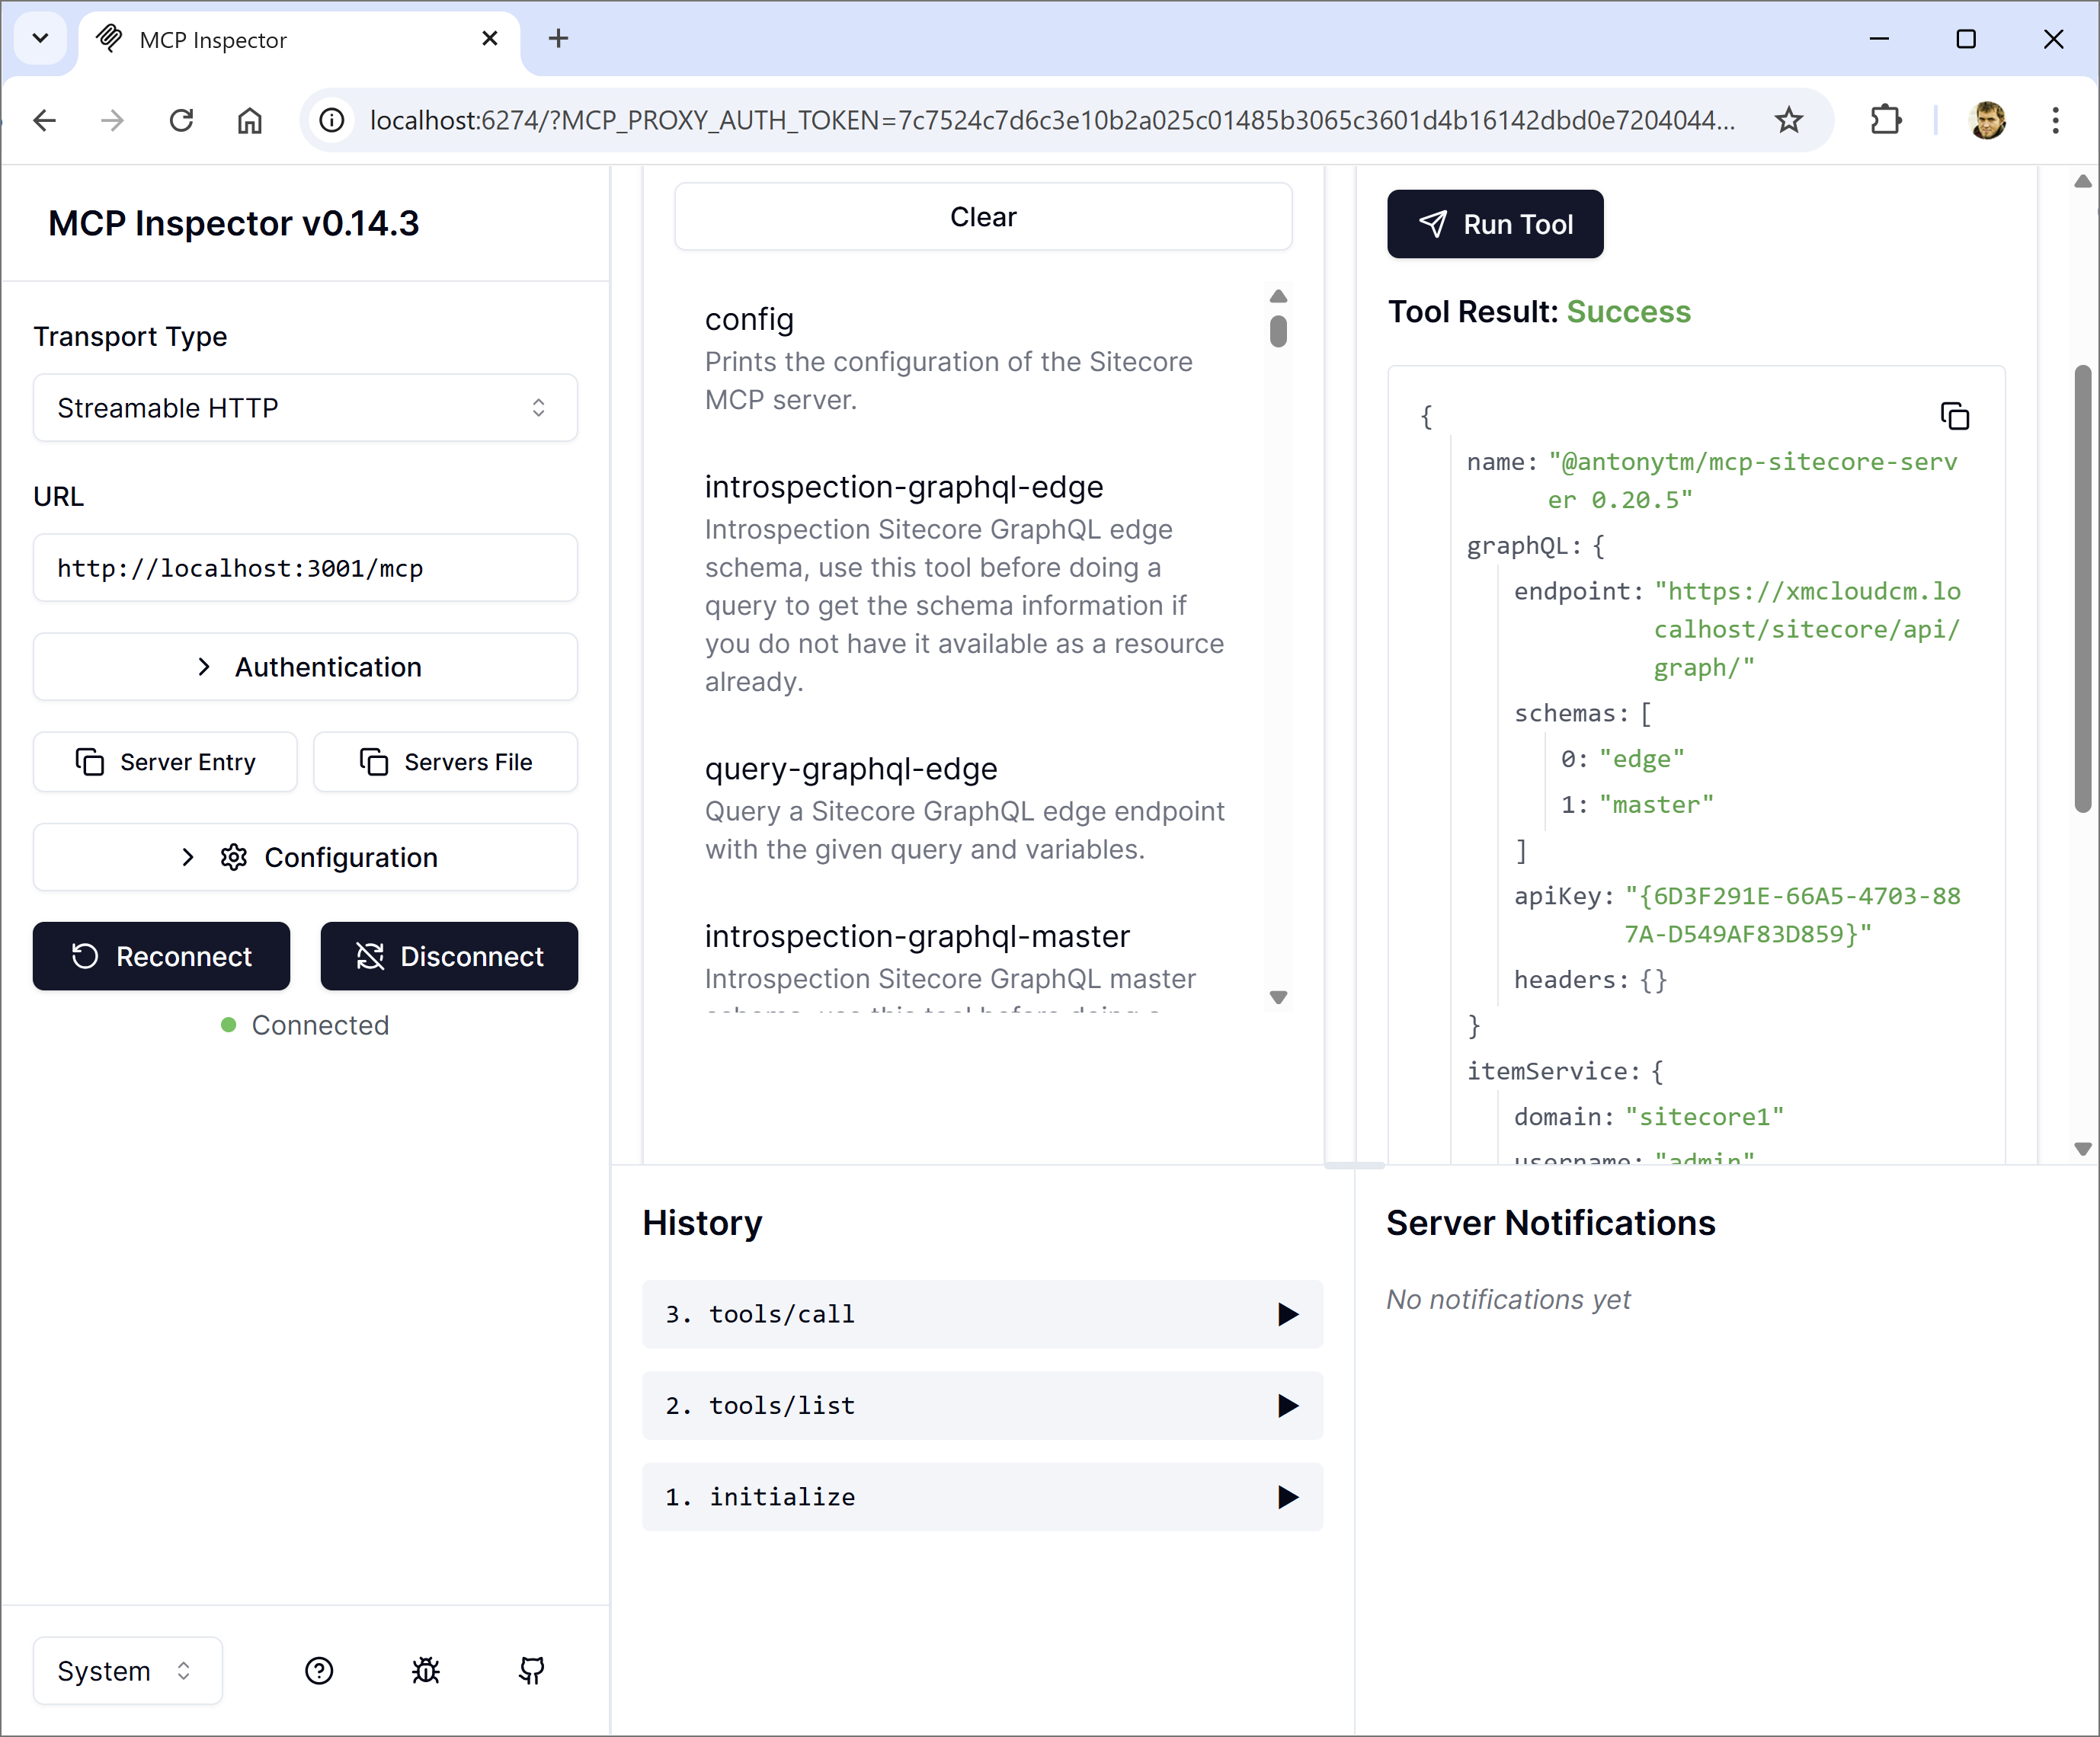
If the configuration is correct, then the MCP server was able to read the environment variables.
Now, we can select any other tool we are interested in and run it. Also, we are able to set up breakpoints in our IDE.
The whole flow will look like this:

Conclusion
In summary, setting up, troubleshooting, and contributing to the Sitecore MCP server can be a seamless process if you follow the outlined steps. By leveraging tools like the MCP Inspector and ensuring proper configuration, you can efficiently debug and enhance the server. Whether you are a developer looking to contribute new tools or simply trying to resolve issues, the provided guidance equips you with the knowledge to work effectively with the Sitecore MCP server.